Why Surface Preparation Decides How Long Paint Lasts
Peeling, flashing and visible patches almost always trace back to preparation. Here’s what proper prep involves — inside and out.
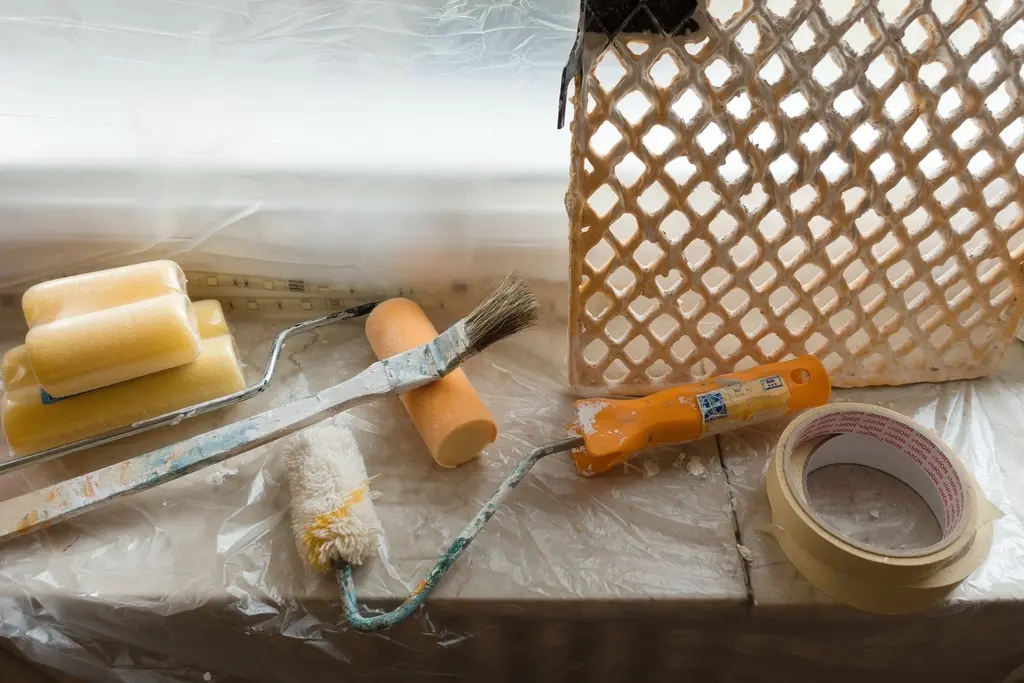
Ask any experienced painter and they will tell you the same thing: the paint is only as good as the surface under it. Most failures — peeling, blistering, shiny patches — start with preparation, not product.
Interior preparation
- Protect floors, furniture and fixtures
- Fill holes and cracks, then sand smooth
- Spot-prime patches so they don’t “flash” through the finish coat
- Clean greasy areas such as kitchens and hallways
- Caulk gaps along trim for clean, straight lines
Exterior preparation
- Wash surfaces and let them dry fully
- Scrape and sand loose or peeling paint
- Repair damaged wood, stucco or siding first
- Prime bare surfaces with a compatible primer
Weather and timing
Exterior paint needs the right temperature and dry conditions to cure. In the GTA, late spring to early fall is the usual window, and we plan around the forecast.
Choosing the right finish
Flat finishes hide imperfections; eggshell and satin are easier to clean; semi-gloss suits trim and doors. We recommend sheens based on how each room is used.
Questions & answers
How many coats of paint do I need?
Usually two finish coats over a properly primed surface. Strong colour changes may need an extra coat.
When is the best time for exterior painting?
When temperatures and surfaces stay above the product’s minimum and it is dry — typically late spring to early fall.